Building your own mini drone at home can be a fun and rewarding project. To get started, you will need a few key pieces of equipment to ensure success.
1. Frame: The frame is the backbone of your drone and will hold all the components together. You can choose from a variety of materials, such as carbon fiber or plastic, depending on your preferences.
2. Motors: Motors are essential for powering the propellers and keeping your drone airborne. Make sure to select motors that are lightweight yet powerful enough to lift your drone off the ground.
3. Flight Controller: The flight controller is like the brain of your drone, controlling its stability and flight patterns. Look for a reliable and easy-to-use controller that is compatible with your chosen frame and motors.
Step-by-Step Instructions
Step 1: Gather Your Materials
First, gather all the necessary materials to build your mini drone. You will need a frame kit, motors, propellers, flight controller, battery, and a remote control. Make sure you have all the components before you start building.
Step 2: Assemble the Frame
Start by assembling the frame of your mini drone. Follow the instructions provided with the frame kit to put together the main body of the drone. Make sure everything is secured tightly to avoid any issues during flight.
Step 3: Attach the Motors and Propellers
Next, attach the motors to the frame according to the instructions provided. Then, install the propellers on each motor. Make sure the propellers are properly aligned and balanced to ensure smooth flight.
Troubleshooting Tips
1. Check the connections: Make sure all the components are properly connected to each other. Sometimes loose connections can cause the drone to malfunction. Double-check all the wires and soldering joints to ensure everything is secure.
2. Battery issues: If your mini drone is not powering on or is not staying in the air for long, it could be a battery issue. Make sure the battery is fully charged and that it is compatible with your drone. Consider getting a spare battery as well.
3. Calibrate the sensors: If your drone is drifting or not flying straight, it may need to be calibrated. Most drones come with instructions on how to calibrate the sensors. Follow the steps carefully to ensure accurate flight.
4. Update the firmware: If your drone’s software is outdated, it may not function properly. Check for any firmware updates on the manufacturer’s website and follow the instructions to update your drone’s software.
Enjoy Your DIY Mini Drone Flight
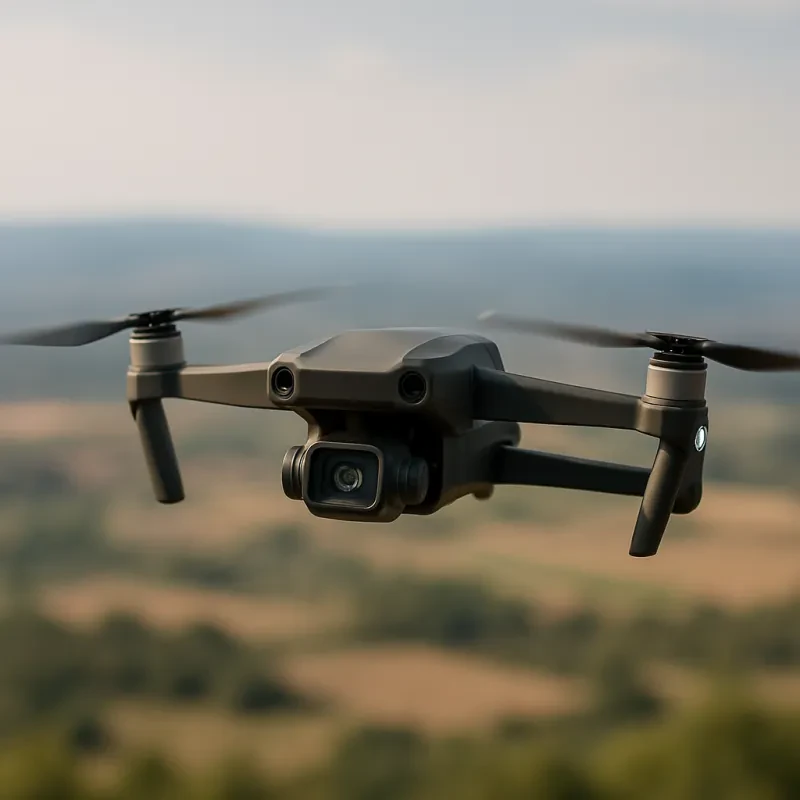
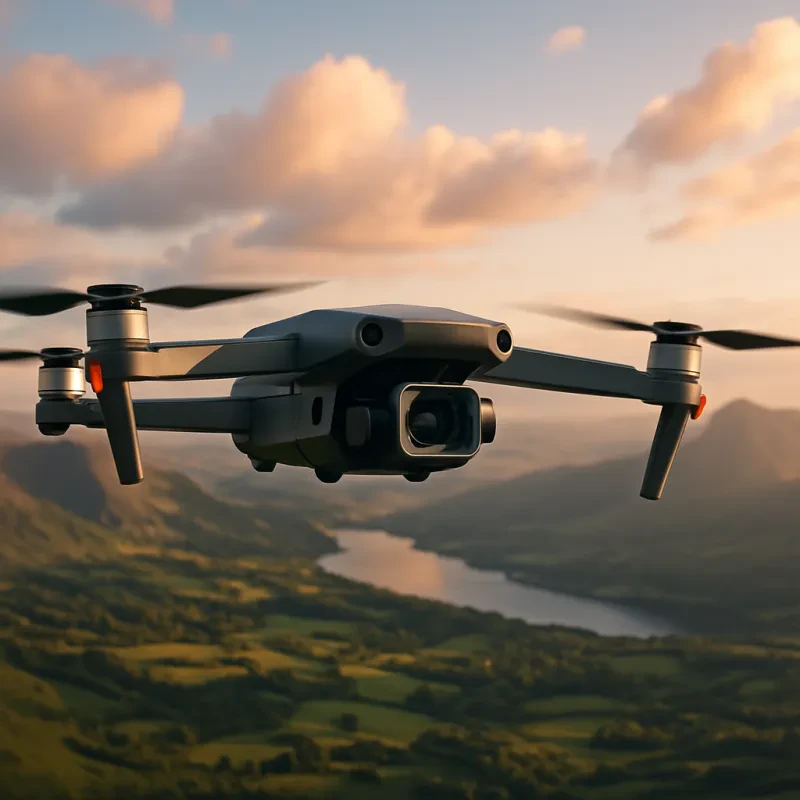
Now that you have successfully built your own mini drone, it's time to take it for a test flight! This is where all your hard work pays off as you get to watch your creation soar through the sky.
Before you begin, make sure that you are in an open area free from obstacles. This will give you plenty of space to maneuver your drone without any risk of crashing into anything. Remember, practice makes perfect!
Once you're ready, gently launch your mini drone into the air and watch as it hovers and glides effortlessly. Use the remote control to steer it in different directions and try out some cool tricks. Feel the thrill of controlling your very own drone!
Don't forget to capture the moment on camera and share your success with your friends and family. Building and flying your own mini drone is not only a fun and rewarding experience, but it also allows you to unleash your creativity and skills in a whole new way. Enjoy your flight!